The Lazy-Girl's Guide To French-Girl Hair


french girl hair tutorial french girl hair tutorial

The thing is, I’m not a big hair person. I’ve had, maybe two styles my entire life: long, and long bob, and I once went three months as a brunette (but the upkeep was too hectic).

The brief to my hairdresser is always, without fault: “I love you, but I don’t want to come back here for six months”.

I’m even more painful about washing and styling my own hair. Which is why it was semi-off brand for me to decide a few months back that I was definitely getting a fringe, because there’s maintenance. Lots of it.

But see, the thing that trumps my hair-styling hatred is my fascination with French-girl everything. And my feed is full of French girls with their effortlessly pulled together looks and minimal makeup — and they all have fringes. So I went there.

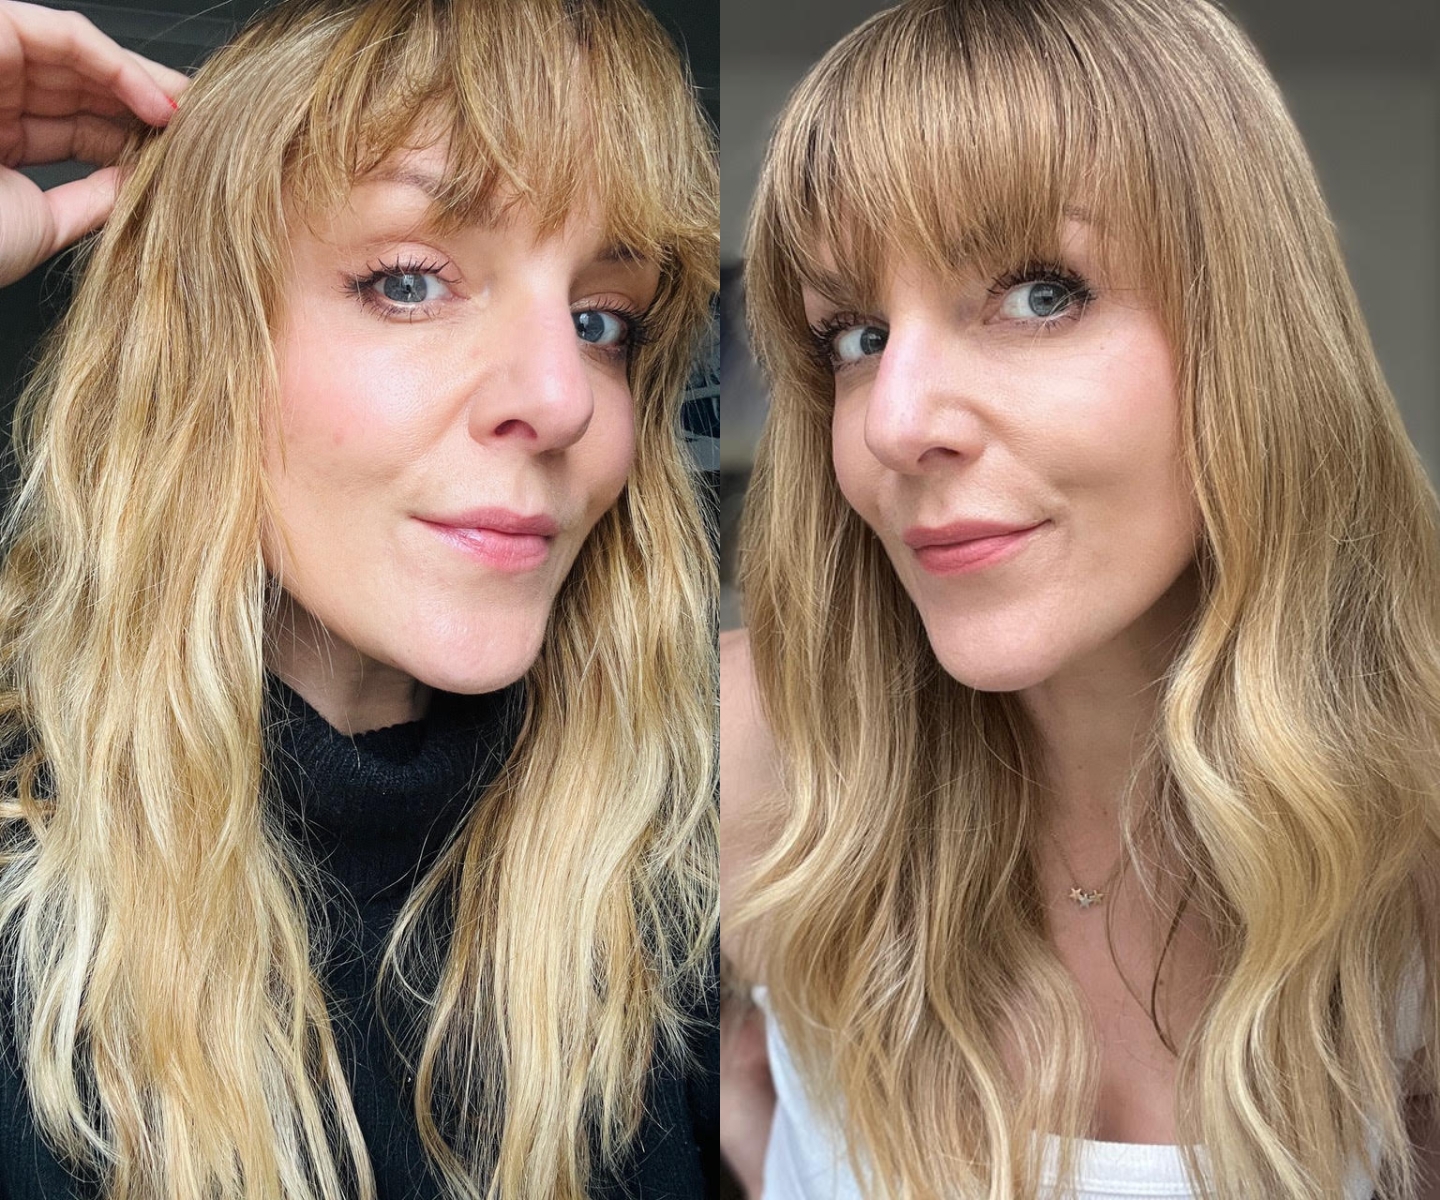
And actually the transformation was kind of major: people (including my own friends) didn’t recognise me. And of course, I had to learn how to style my hair in a whole different way.

I still thought I very much had my styling L-plates on when I had lunch with Adore’s Senior Beauty Editor, Sadaf and she told me my hair was amazing (ultimate hype girl) and then basically bullied me into writing this story, telling you how to get undone-french girl waves.

So here it is...


French Girl Hair Is a Lifestyle, Not a Look.

The first rule of French-girl hair is that it’s never too polished. French girls are low-fi in the beauty department, and their hair always looks “undone” in the chicest possible way.

They’re also masters in the art of embracing the natural, and in hair this translates to embracing natural texture.

For those of you who need a pulse check after that, I can guarantee it’s actually a good thing, liberating even.

And the thing is, embracing the imperfection, the flyaways and the undone-ness is exactly what makes it cool. It’s a lifestyle, not a look.


How To Get French-Girl Waves at Home.


Step One: Use A Texture Enhancing Shampoo.

See, if you’re going for natural texture, you don’t want to be using a smoothing, keratin-infused shampoo and conditioner.

I tend to reach for volumising shampoos because  my hair errs on the limp side, and I find it easier to work with when it has a little lift straight from the shower.

I love the Larry King Social Life Shampoo because it’s elite, but any shampoo that adds texture to your strands (while also still cleaning and nourishing, obvs) will work.

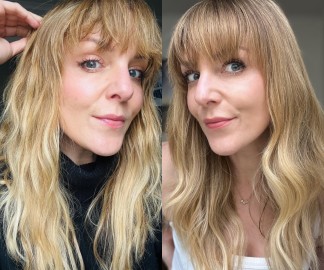
Step 2. Step Two: Air Dry Your Hair.

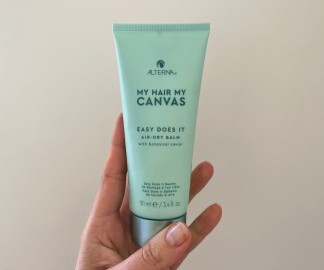
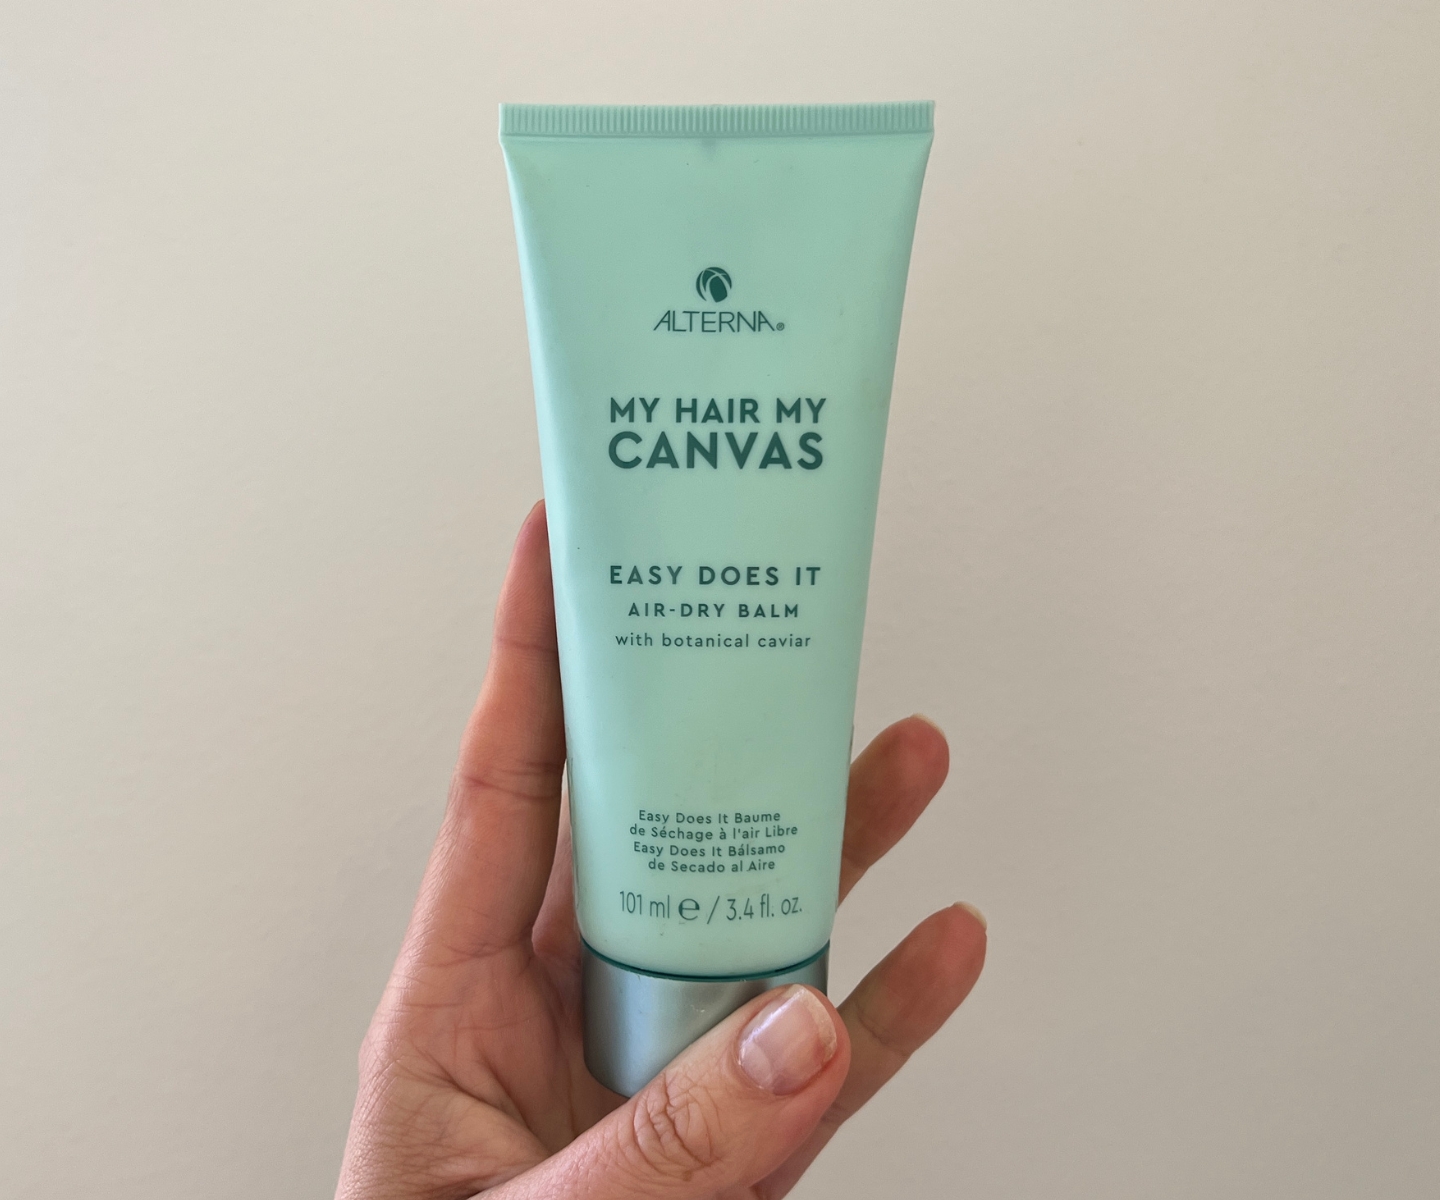
ALTERNA HAIR My Hair My Canvas Easy Does It Air-Dry Balm ALTERNA HAIR My Hair My Canvas Easy Does It Air-Dry Balm

That’s right: step away from the hair dryer and let the air do the work (lucky I’m writing this in spring, yeah?).

Now, we’re now all blessed with magic hair that will air dry to perfection, but an excellent balm that will encourage texture and waves will do it for you.

I’m obsessed with Alterna Hair My Hair My Canvas Easy Does It Air-Dry Balm . It was the first product I ever used that allowed me to actually air dry and leave the house without scaring small children.

You just apply it through damp hair, and then encourage the waves by scrunching and twisting as you go.

And it also helps with the frizz-factor too. That is literally it! No other secrets, just two products to that hair.


French Girl Waves - The (More) Polished Version.

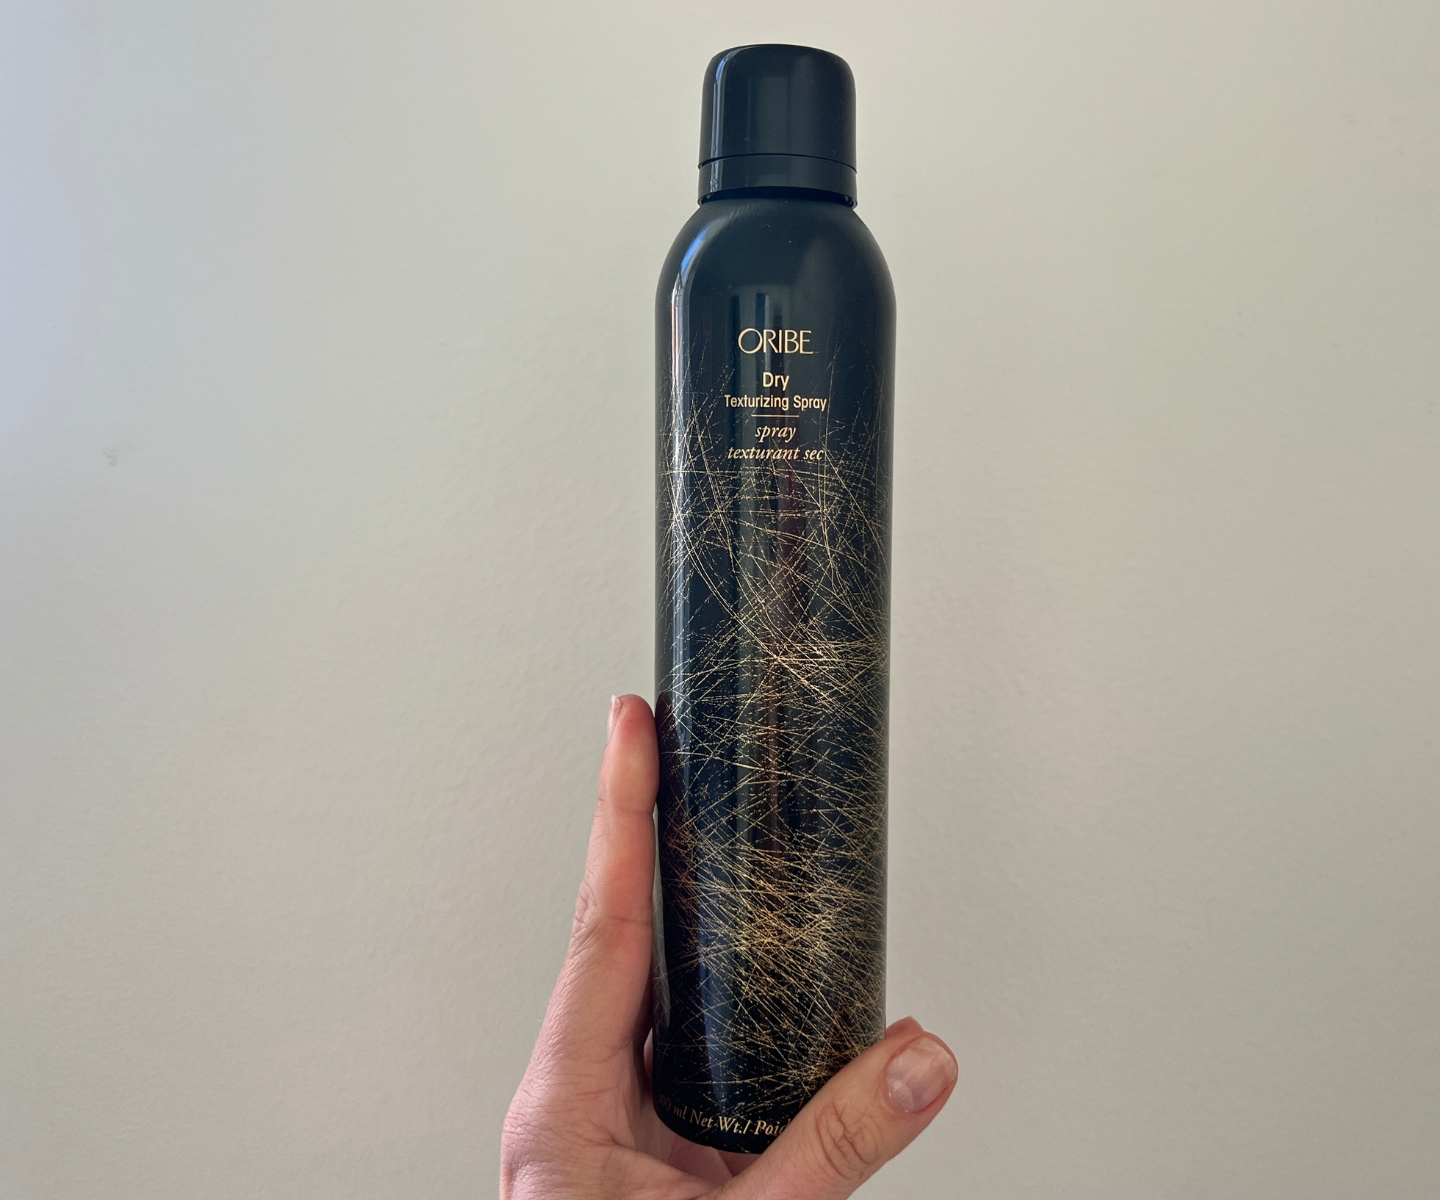
Oribe Dry Texturising Spray Oribe Dry Texturising Spray

Ok, if you're not ready to break up with your hot tools yet, there is another way, that really only adds one more step.

Let me break it down for you...

Step One: Wash your hair using a texture-enhancing shampoo as above.

Step Two: Blow dry as usual.

Step Three: Employ the wizardry of one of the greatest hair products to ever grace this Earth: Oribe Dry Texturizing Spray. I cannot pledge my love for this enough.

It’s one of the few products I would never give away and would never share with anyone, and I’ve been devoted to it for almost a decade.

It will literally give life to even the limpest hair. You just spray through dry hair and work it through with your fingers a little — you’ll be able to feel the pliable texture and the instant undone-but-done vibe.

Step Four: OK, now you can use your hot tool.

My wand of choice is the ghd Classic Wave Wand Hair Curler, as the tapered head gives a more natural and less “square” looking wave.

I never section my hair when I’m going for a French look, instead I just grab random sections of varying size and wrap it around the wand, leaving a centimetre or two at the end.

Hold for a 10 seconds or so, then release and move on to the next piece. It’s meant to feel haphazard, you’re not going for Prom Queen curls.

Once you’re done, allow it to cool and brush out with your finger or a brush.

If it’s looking too perfect, add another spritz of the texture spray and piece it out with your fingers.

And that’s it. Told you it was easy. If I can do it, you can. Promise.


    Subscribe for beauty sales, free goodies, advice and SO much more!